Creating 3D Models
Photogrammetry Quick-start
In this section, we have collected some useful tips for taking photographs for the purposes of processing them into 3D models. Full tutorials are available for each of the software packages, e.g. https://alicevision.org/#meshroom or https://www.capturingreality.com/
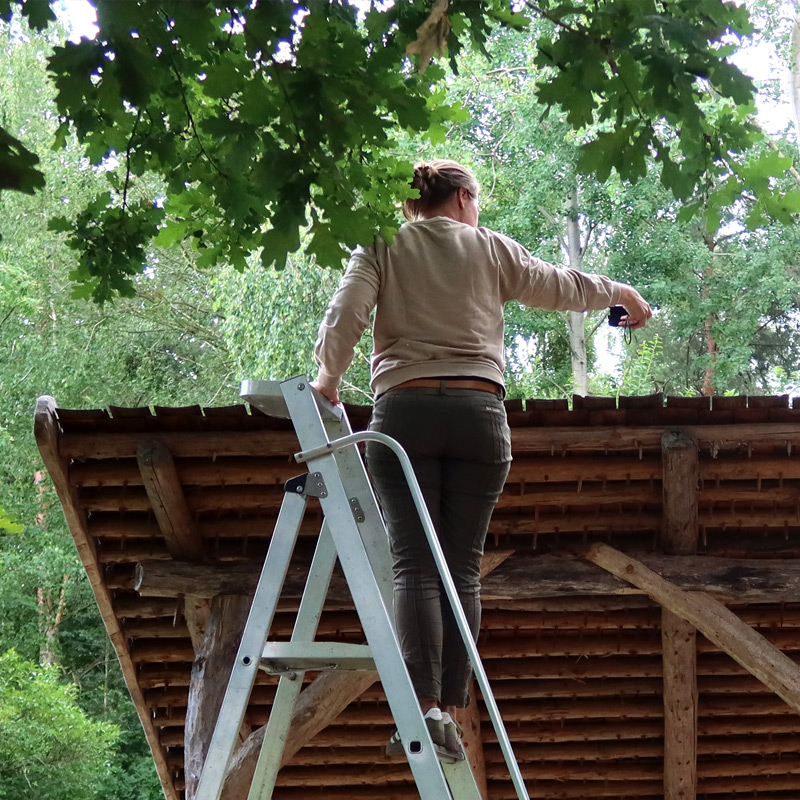
With your DSLR camera or mobile phone ready, you will need to place the object that you want to model in a well-lit location, preferably outdoors, where you can move around the object. Overcast weather conditions are perfect for this.
Taking the photos

Ensure overlap between the photos
- Overlap: Aim for 60-80% overlap between consecutive photos (both horizontally and vertically). This helps the software to identify common points and create a more accurate 3D model.
- Even Coverage: Capture the object from all angles, ensuring there are no large gaps in coverage. Think of it like wrapping the object in a grid of photos.

Use consistent camera settings
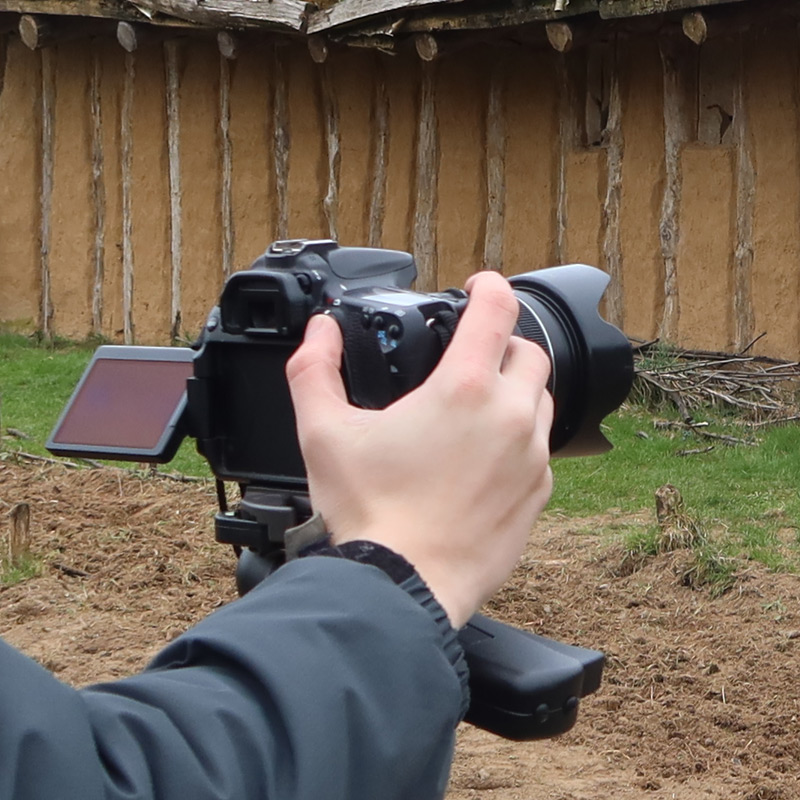
- Use a fixed focal length and a smaller aperture to make sure most of the object is in focus.
- Use a high resolution for your digital photos to capture good detail. But balance this with your storage capacity and processing power of your hardware. The higher the detail, the more processing it will take.

Ensure even lighting
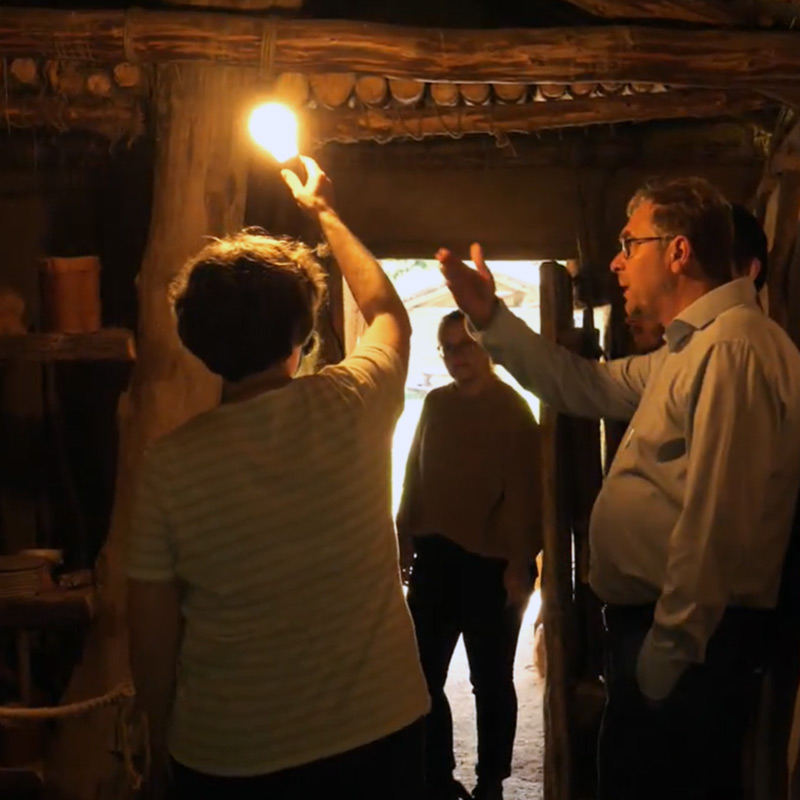
- Diffuse Lighting: Aim for even, diffused lighting to avoid harsh shadows and bright spots. Natural daylight or softbox lighting works well. Avoid direct overhead lights and hotspots.
- No Shadows: Ensure the light source is diffused enough to minimize shadows on the object. Shadows can obscure surface details and confuse the photogrammetry software.
- Avoid Reflections: Be cautious with shiny or reflective surfaces, as they can confuse the software. If working with reflective objects, consider using polarizing filters or matte coatings to reduce reflections.

Avoid blurred images
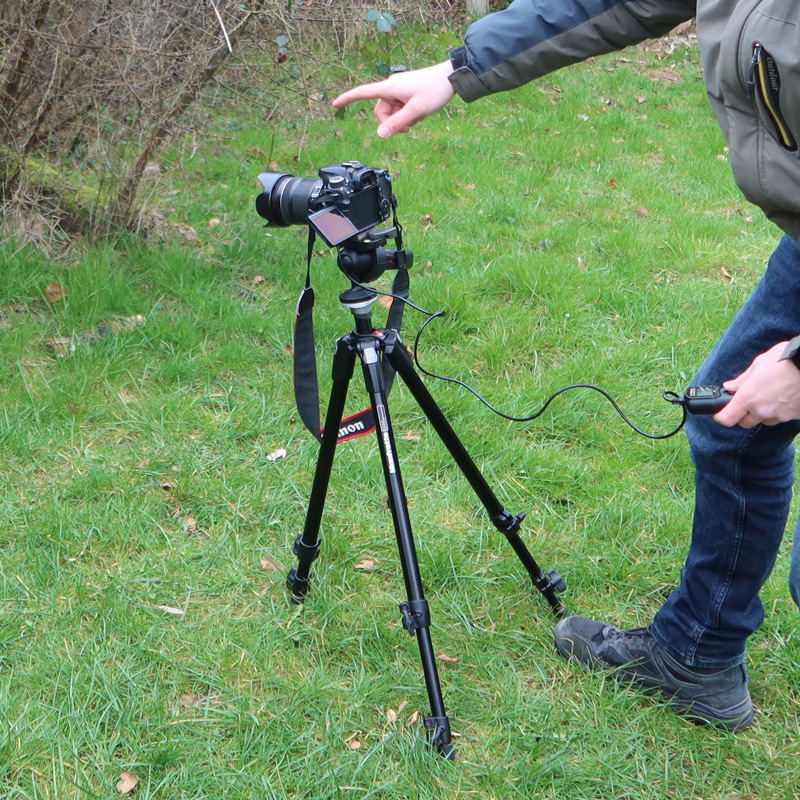
- Use a tripod to stabilise your camera in lower light conditions
- Make sure your subject is not moving and entirely still.

